
If you love candle-making, you probably find yourself making as many as you can. One thing I’ve disliked about candle-making personally is how boring all the jars I had to use were. That got me wondering if I could make a fun mold for candles just like I had for making silicone stress balls.
Turns out you can, and it’s ridiculously easy to make. I’ll teach you how to make candle molds from anything you find around the house. You can use this to make soap molds or candy molds as well; just use food-safe silicone to make your mold for candy or chocolate.
Supplies Needed
- Silicone molding compound
- An item you want to make into a candle mold
- Empty container that will be larger than your item
- Popsicle sticks
- Toothpicks
- Non-sulfur clay to fill gaps
- Mixing vessels
- Digital scale
- Utility or Exacto Knife
- Wax for candle making
- Wicks
Tips
- For the silicone, any silicone molding compound will work. Be sure to read the directions carefully so you know how much of each part you need to add. Remember, silicone comes in 2 parts that must be mixed in the right ratio, or it won’t firm up correctly.
- You can make a mold out of any item you like. You can even sculpt your own using non-sulfur clay if you like.
- Your empty container could be anything, including things like an old container that was destined to be thrown away or recycled. Just make sure it is clean and will fit what you want to mold. Also, be sure not to damage this when removing your silicone mold since you will use it to hold the mold while you pour in the wax later.
We recommend reading our guide on how to clean old candle containers.
- Popsicle sticks can be used to hold your wicks, center your item in the mold, and mix your silicone. Get plenty in a larger size.
- You will use the non-sulfur clay to fill any gaps in your item that you don’t want in your mold. It needs to contain no sulfur since sulfur can cause silicone not to be set properly. Don’t worry; it isn’t expensive. Many common modeling clays contain no sulfur.
- Mixing vessels are needed so you can both measure and mix your silicone. I would suggest using something disposable since the silicone parts can ruin some containers, in my experience.
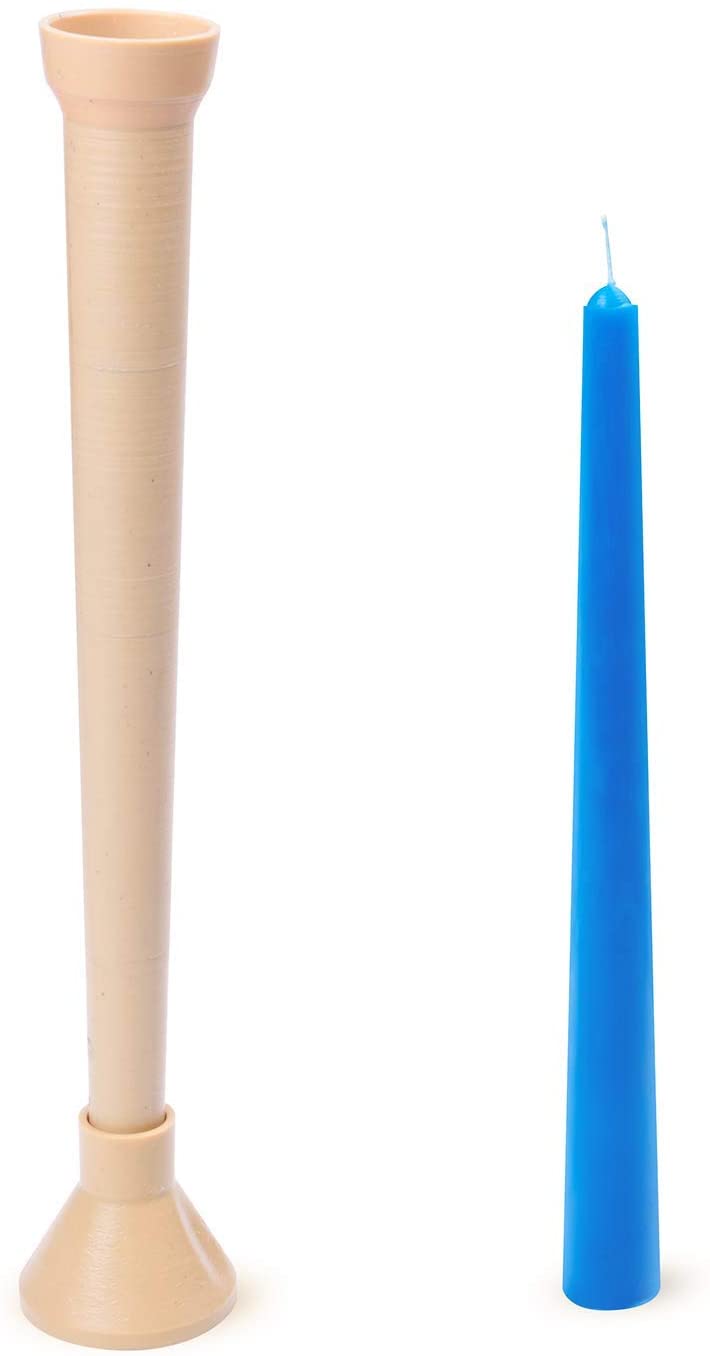 Classic Thin Taper Mold №1
 - Shape: Pine-shaped
- Material: Durable plastic
Making Silicone Molds For Candles
Credit to Andy Elliott Craft & Creations on YouTube.
Step 1. Select and prepare your item to mold
Pick your item and get it ready. The tutorial I’m linking used a rubber piggy bank cut down. Make sure your item is clean, and any gaps are filled with clay if it is hollow. You can make your own from clay if you like as well.
Pro-tip: Select something small to start that can be easy to hang up. An interesting ornament or pendant that already has a way to hang it up can be a great way to start.
Step 2. Select and prepare your container and item
You want a big container to hold your item without it touching the sides or bottom of the container. Make sure it is clean as well. Use your popsicle sticks and toothpicks or something similar to make a way to hold your item above the bottom of your container.
Pro-tip: Glue can help hold your item, just be sure it won’t show up in your final mold.
Step 3. Prepare your silicone
You will want to measure out and mix your silicone according to the package directions. Be sure to mix thoroughly, and be careful not to add too many bubbles. These bubbles can show up in your mold.
Pro-tip: Weigh your silicone parts for accuracy. Most professionals prefer weight since it is more reliable when working with silicone.
Step 4. Pour your mold
You want to ensure your item can’t float by weighing it down. Then carefully pour in your silicone until it covers your item completely.
Pro-tip: Be careful of bubbles. Pour slowly to help avoid them. Bubbles can ruin the appearance of your candles.
Step 5. Leave it overnight
Leave your mold overnight before you try to unmold it. Leave it for a few more hours if it isn’t set yet.
Pro-tip: Finished silicone feels rubbery and solid. Some silicone brands might take more or less time to cure. Read the directions on your package to learn more.
Step 6. Remove your item
Carefully remove your finished mold from the container. Then slice it carefully down the side with your knife to remove your item. Be sure you have a large enough hole at the top so you can pull your wick through as well as pour in your soy wax.
Pro-tip: Be careful not to damage the container. You will put your mold back in this container when it is time to pour your wax so you don’t get any leakage. Try to keep your slice down the mold clean so you don’t have wax trying to escape that way and ruining the look of your candle.
Step 7. Prepare your wick and melt your wax
Your mold is now ready to use. To do so, trim your wick, and wrap it around a popsicle stick. Place the mold back in the container to hold it together. Melt your wax as usual and add any dyes or scents you like.
Step 8. Pour your candle and let it set
Put your wax in a pouring vessel if you didn’t have it in one, and carefully fill your mold. Be sure to avoid bubbles since they won’t rise to the top easily and can ruin the details of your mold. Pour very slowly to avoid them. Add your wick carefully and leave this to set. Overnight or a day should leave you with a fully cooled candle.
Pro-tip: Any excess wax can be cleaned off now or after it has cooled.
Step 9. Remove your candle and trim the wick
Carefully remove your candle from the mold and trim your wick down to 1/4 inch. Now your candle is ready to use. Make sure you burn it on something to catch the wax.
Pro-tip: Now is the time when you will see any mistakes you made in the mold like bubbles. If you aren’t happy with the result, you can always try making it again.
FAQ
How to Use Candle Molds?
Candle molds are used much like any other mold. You pour in your wax, let it set, and have a fun candle once you pop it out. This tutorial teaches you how to make a reusable mold. If you are selling your candles, this lets you make plenty to sell without making a new mold each time.
How to Clean Candle Molds?
For silicone molds like this tutorial will make, you can use very hot, soapy water to melt the wax. Then gently clean it out with a soft cloth or paper towel. You could scrape out more thickly built-up wax or add more hot water if you waited too long to clean. Be careful not to scratch your molds since those scratches will show up in your candles.
What are some other options for candle molds?
- Pop cans with the tops off
- Small aquariums
- Empty candy or popcorn tins
- Mixing bowls
- Aluminum foil that you have shaped.
- Gelatin molds.
- Any hollow container.
What material is best for candle molds?
Silicone rubber is extremely flexible and can withstand high temperatures. On the other hand, Urethane rubber offers a cost-effective wax casting solution. Both materials are excellent for repeat cycling molds.
How can you prevent candles from sticking to the molds?
You can use any oil, and you can also use coconut oil or olive oil. I have a spray-on oil that’s specifically for candles in this case.
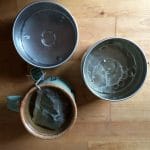
Can you use a tin can as a candle mold?
Tin cans make great candle molds. However, the cans mustn’t have any sizing that could make it difficult for you to take out the candle after it has dried. Very large tins are great for making unusual candles.
How hot can you melt soy wax in molds?
Place the lid on the container and let the wax reach 180°F/82°C. Insert the wax thermometer to verify that the wax beads are melting and changing from opaque to translucent. The ideal pouring temperature for liquid wax is 180°F/82°C. Learn more about what temperature you can pour the wax at in this article.
Final thoughts
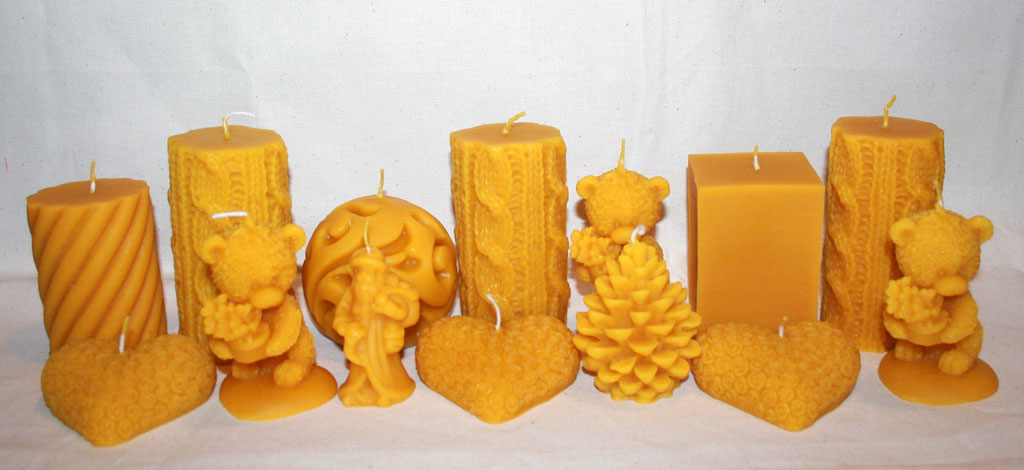
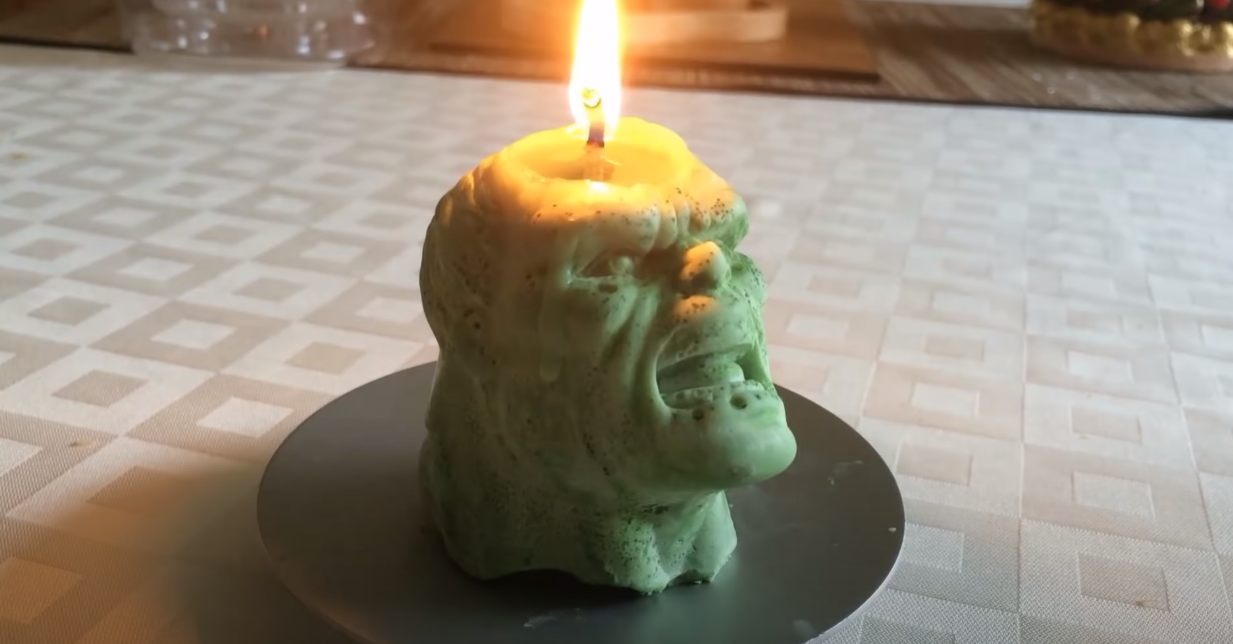
I hope you ended up with a great result after this tutorial. I love making fun candles using silicone molds, and I love that they can be reused so I can make my favorite shapes as many times as I like. You can make as many molds as you have silicone for. Don’t be afraid to make shapes for any holiday or season you like.
If you liked this tutorial, share it with your friends. If you have any tips for making good molds or thoughts on this tutorial, be sure to leave a comment below.
Carole Brooks has been making candles for many years. She loves to create candles of all different types and for all different purposes. Here she shares her experience and knowledge. Carole is a graduate of Texas A&M University.

")
")
")

Crafting with candle molds is a delightful hobby, allowing you to design and mold candles that reflect your creativity and style.