Candles add a beautiful ambiance to any room, their gentle glow offering a calming respite from our fast-paced lives. They fill our spaces with soothing scents, transforming our homes into personalized sanctuaries of tranquility.
However, anyone who regularly burns candles has likely encountered the frustrating issue of candle tunneling. It can severely cut short a candle’s life, disrupt its aesthetic appeal, and limit the diffusion of its aroma.
In this article, we’ll illuminate the perplexing problem of candle tunneling, explaining what it is, why it happens, and most importantly, how to fix it. We’ll delve into a range of practical solutions that you can implement right at home, ensuring your candles burn evenly, last longer, and continue to create that captivating glow you love so much.
Whether you’re a candle enthusiast or a newcomer to the candle world, this guide will empower you with the knowledge to get the most out of your candles. Let’s shed some light on the mystery of candle tunneling together!
Why Your Candle is Tunneling?
It’s hard to avoid or solve candle tunneling if you don’t understand the causes.
1. Wick Size Problem
Simply put, if the wick on a product is the wrong size, it will not burn correctly. Please pick up the right wick for candles from our review.
Damage can be caused by wicks that are too big for the product. Soot may accumulate within the container if the burning wick is too large.
There will be an issue with too much soot within the container since it will harm the container.
Candle tunneling is caused by wicks that are too small.
The strength of the wick’s flame may not be adequate to melt the product’s sides if it is too thin or short. The heat will only affect the product’s core, and tunneling will occur.
2. Your Residence’s Heating
The candle’s performance may be affected by the temperature in the household. Some parts of the product may melt more slowly at colder temperatures.
The wax around the wick may melt quicker than the surrounding walls due to the heat. Tunneling will ultimately appear as a result of this.
3. Wax Memories
When you light a product for the first time, it will have the same density throughout. However, when the heat passes through the wax, certain parts of the product will melt while others will not.
Those melted wax chunks may solidify later, but they won’t last as long as before the initial burn. Compared to the rest of the product, they will melt at a lower temperature. Wax memory refers to the softer parts of the product.
Those previously melted areas of the product might take days or even weeks to solidify back to their normal density.
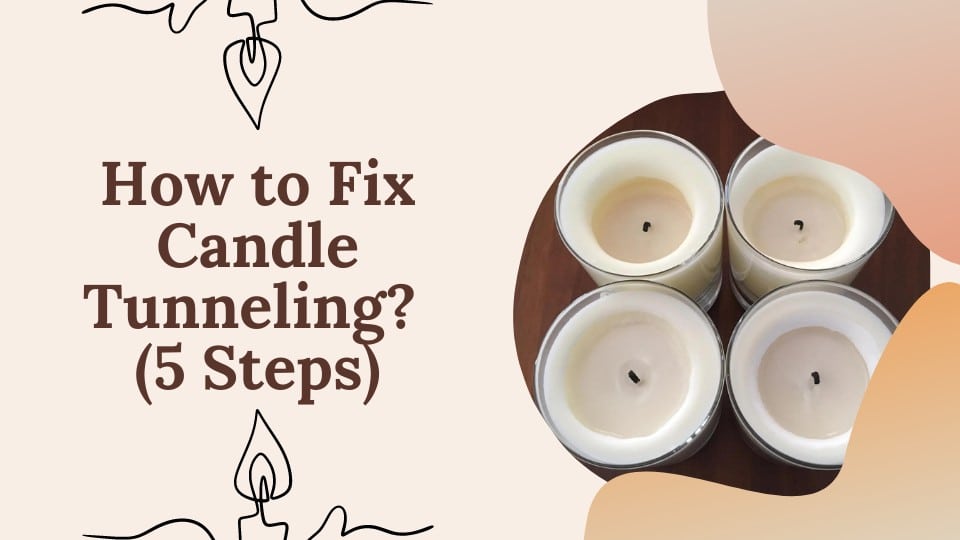
Ways to Fix Candle Tunneling
If your product has already started tunneling, what should you do?
You may naturally rectify the problem and preserve your product by knowing what causes tunneling.
In theory, all you have to do to remedy candle tunneling is melt the exterior wax surrounding the tunnel and make the surface even again.
We offer five approaches.
Way 1: Using a Hair Dryer to Fix Tunneling
- Trim the wick and clean out the tube of any debris.
- Heat the wax on the top surface of the product with a heat gun (if you have one) or a blow-dryer at the hottest temperature.
- To assist the unmelted wax on the sides, melt faster and gently poke it with a toothpick.
- Keep warming until the wax has completely melted and smoothed over the top part.
- Burn the product and let it burn for at least 30 minutes, or until no further tunneling is visible.
- Put the product away for a few days to let the wax set. According to what kind of wax is used in the product, complete hardness might take anywhere from 2 days to 2 weeks.
Way 2: The Aluminum Foil Method for Fixing Candle Tunneling
- Trim the wick and clean out the tube of any material.
- Cover the product’s top with aluminum foil.
- Cut a tiny hole in the center of the aluminum foil (about 1.5 cm).
- Remove the aluminum foil and ignite the wick before replacing the foil cover.
- Let your product burn for several minutes or until the wax on the top has completely melted and smoothed out.
- Put the product aside for a few days to let the wax solidify to its maximum firmness.
Way 3: “Bake” The Candle
The oven isn’t just for making pizza and pie. It can also be used to fix a candle that has begun to tunnel. Put the candle you wish to fix into the oven. After closing the oven door, adjust the oven temperature to 175 ℉. Set the timer for five minutes at the end.
With oven mitts on, check on your candle after 5 minutes. The edges where the candle was tunneling should have melted down and now appear smooth.
Way 4: Candle Warmer to Tackle Extreme Candle Tunneling
A candle warmer is a brilliant tool for dealing with extreme cases of candle tunneling. If your candle has tunneled too deep for the conventional solutions to work effectively, a candle warmer may be your saving grace. Here’s why.
What is a Candle Warmer?
A candle warmer is a small, electric device designed specifically to melt a candle’s wax by heating from the bottom. It is a safe and flameless alternative to enjoying your candles’ fragrance, but its utility goes beyond that—it’s a highly effective tool for combating severe candle tunneling.
How Does a Candle Warmer Work Against Tunneling?
A candle warmer tackles the problem of tunneling from a different angle, quite literally. Unlike traditional burning, which heats the wick and, consequently, the wax directly above it, a candle warmer uniformly heats the entire bottom surface of the candle.
This slow, even heat helps to melt all the wax, not just the wax in the center of the candle, minimizing the chances of tunneling and potentially rectifying already tunneled candles.
Moreover, by heating from the base, candle warmers encourage the wax to melt outwards and upwards, reaching even those stubborn corners that tend to be left untouched and tunnel. This helps the candle reset its ‘memory,’ which in turn fixes the tunneling issue.
Way 5: Trim the Wax to Reset the Candle’s Memory
While you might know that you should regularly trim your candle wick, you might not realize that you can also trim your wax to help fix candle tunneling. By removing the unmelted wax where the candle is tunneling and smoothing it out yourself, you can reset the memory of your candle wax.
To do so, cut away at the unmelted wax with the end of an unused spoon, fork, or knife (or any other unused tool). By doing so, you’re forcing the wax to erase its memory and fix the candle tunneling.
The Way to Avoid Candle Tunneling
There are four main ways to avoid tunneling.
1. Use The Appropriate Wick Size
Test your DIYs to ensure you’re using the proper wick size and series for your wax and container.
If your product pattern tunnels, increase the wick size for the following. This usually solves the problem of a little wick.
Don’t forget to do a burn test.
2. Spend on Higher-Quality Candles
This might be due to your habit of buying low-quality candles.
It’s possible that the producers of those low-quality candles aren’t paying enough attention to the wicks in their goods. Improperly sized wicks might hamper a candle’s effectiveness.
Don’t forget about the candle’s composition. Because paraffin wax is so soft, candles made with it melt more quickly. You may eliminate this problem by choosing soy wax candles instead.
3. Set the Initial Burn Path
Keep in mind how we discussed the notion of wax memory previously.
The size of them will determine how long you should let them burn.
- The general guideline is that the initial burn period must be extended as they become broader.
- Before putting the candle out, ensure the initial layer of wax is completely melted.
- Allow at least one hour for your candle to burn if it is a one-inch diameter. For every additional inch of its width, add an hour.
- Check on your candle every thirty minutes or so to be extra cautious. The melting speed of your candle is affected by its individual properties.
4. Find the Right Place
The candle may not burn well in extremely cold weather. When lighting them, avoid placing them in an area where they will not be able to melt evenly.
Place the candle away from any open windows or fans. The cool breeze going by might accidentally turn out the flame. Tunneling might occur if the flame was extinguished sooner than intended.
Conclusion
In conclusion, understanding and addressing candle tunneling is key to prolonging the life of your favorite candles, preserving their aesthetic value, and ensuring they continue to disperse their captivating scents effectively.
Through the practical techniques we’ve illuminated in this article—such as the initial burn rule, foil wrapping, and using a heat gun or a candle warmer—you’re now equipped with the knowledge to prevent and correct tunneling in your candles.
Remember, good candle care doesn’t stop at preventing tunneling. Proper wick trimming, maintaining a safe burning environment, and ensuring optimal burning times are equally important aspects of overall candle maintenance. By adopting these practices, you’ll enhance your candle-burning experience, transforming it from a mere action into an art.
Now that you have mastered the science behind candle tunneling and the art of fixing it, you’re all set to immerse yourself in the comforting glow of your candles, without having to worry about their lifespan. Let your candles light up your space, infuse your rooms with calming scents, and continue to create those tranquil moments you cherish. After all, your candle-lit sanctuary awaits!
Carole Brooks has been making candles for many years. She loves to create candles of all different types and for all different purposes. Here she shares her experience and knowledge. Carole is a graduate of Texas A&M University.
")
")
")
")