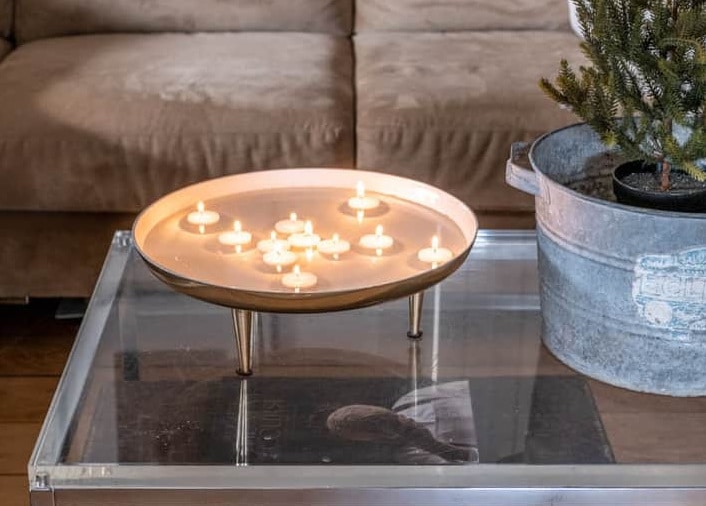
Are you looking to make floating candles? This is a great way to add ambiance, style, and warmth to any room in your home. They can be used as an accessory on the dinner table, as decor for special occasions, or even just for fun! This post will go over the steps for how to make floating candles as well as answer some common questions.
Making Floating Candles
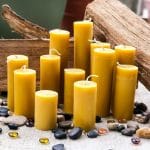
This is a popular choice of decoration for weddings, birthdays, baby showers, and even Christmas trees! They look expensive, but they’re surprisingly easy to make.
For this project we need:
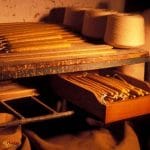
- Wax: You can use a type of candle called a votive.
- Wick: Use a zinc core wick that’s suitable for a 1-2 inch candle.
- Fragrance: If you want your candles to smell good, put in a fragrance or essential oil.
- Color: You can color your wax if you want.
- A Small Mold: Ensure that the mold is larger at the top than it is on the bottom. Some candle supply companies sell a type of mold called “tart” or “floater”.
Note: Floating Candles are also called “tarts”. A tart is just another word for them when they’re in their own individual container.
Step 1: Melt the Wax
First, prepare the mold that you will use for your candle. Then melt the wax.
There are a few different ways to melt wax: in the microwave, on the stove-top, or using an electric melter. Choose your preferred method and remember that it will take longer for larger quantities of wax (up to 30 minutes). Be careful not to overheat the wax as this can cause bubbles to form in the candles when they cool down!
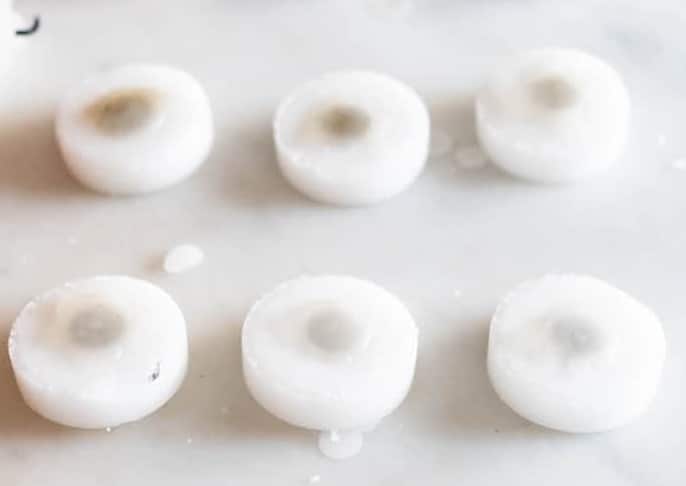
Step 2: Pour the Wax
After the wax has melted, pour it into your mold. Make sure that you have enough to fill up all of the molds with about a half-inch left over at the top!
Step 3: Insert the Wick
Let the candles cool until a skin has formed on top.
Next, insert the wick into the center of your mold at a 90-degree angle. When you do this make sure that it is as straight as possible!
Step 4: Let the Candles Cool
Finally, let the Floating Candles cool. This will take about 15-30 minutes. When it’s ready to burn you can trim off any excess wink first and then enjoy! Floating candles are typically burned for 30-60 hours at a time but their lifespan depends largely on how often they are lit or used as well as what type of wax was used in them.
Tips:
In order to prevent bubbles from forming in the Floating Candle when they cool down use care not to overheat the wax. (Optional) You can also pour molten wax on top of another layer of cooled melted wax in order to create candle art or patterns by using different colors — be careful with hot liquid though so follow safety precautions always. This is often done with pillar candles but can easily be applied to Floating Candles.
We recommend that you read the guide on how to make bubble candles.
What Floating Candle Wax Is Used?
There is an endless variety of Floating Candle waxes that all have different properties and benefits — finding one might be difficult without reading reviews before making your purchase though! The most common types include soy, beeswax, and paraffin/parafilm (soy blend).
Floating Candle waxes also come in a variety of scents, colors, and shapes — we recommend choosing one that is made with 100% soy for the best quality!
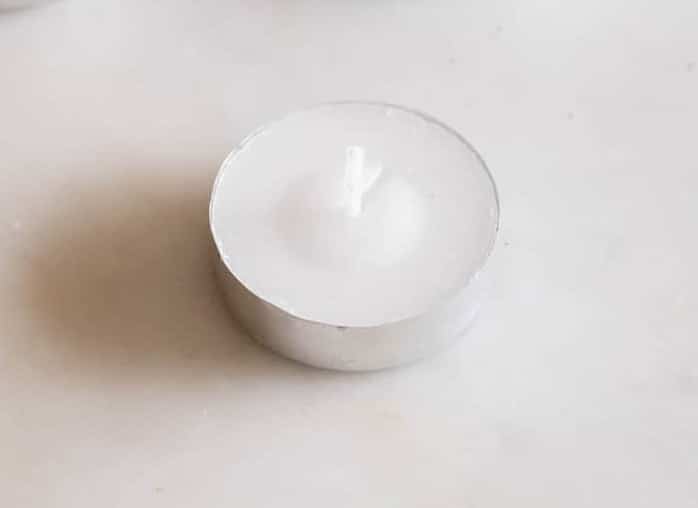
How to make floating candles out of a tea light
- To remove the tea light candle from its cup, hold it over the wick and pull it upwards.
- Get a candle that is not lit and drip some wax on the bottom of it until the wick holder is completely sealed.
The length of time for these candles depends on their size. The last 45 minutes to 1½ hours.

Tips:
- For bigger floating candles, use the cheap types in a glass holder. Put that candle in a bowl of hot water. She will loosen up and you can take it out. Then seal the bottom of the candle with wax too. These larger candles will burn for around 2 hours.
- Candles with a wider bottom than top float better.
- Freezing candles before you burn them will not make them last longer. I tested it.
Conclusion
Floating candles are a unique way to create an enchanting ambiance. They can be stunning in large groups and also make great centerpieces for events, weddings, or as home decor pieces. If you’re looking for ways to include them in your own design projects but don’t know where to start, we’ve gathered some ideas that will help give you the creative juices flowing!
From making floating candles from wine bottles with votives inside of them all the way down to using specific colors of waxes when making small batches at home – there’s something here for everyone.
Sources of information and pictures:
www.thesprucecrafts.com/
www.theartofdoingstuff.com/
Carole Brooks has been making candles for many years. She loves to create candles of all different types and for all different purposes. Here she shares her experience and knowledge. Carole is a graduate of Texas A&M University.
")
")
")
")