
Making new candles from the ends and melted pieces of old candles is an excellent method to recycle materials while saving money.
You’ll be able to use things you already have around the home, like operated candles and contemporary glasswork or dishes, instead of having to shop for everything new.
No kits or elaborate instruction pamphlets are required, as with other candle-making processes. This article will teach you a simple, low-cost, and ecologically friendly procedure.
To begin, separate the wax pieces.
Before you begin melting and pouring, take some time to consider how you want your candle to look, and then sift the available wax accordingly.
Making candles from old wax
A layered container candle is maybe the most acceptable option for reusing old candle parts. You won’t need any special equipment, and you’ll be able to use every rainbow color in one candle. Follow the directions for producing a simple container candle with a few crucial changes to make the layered candle.
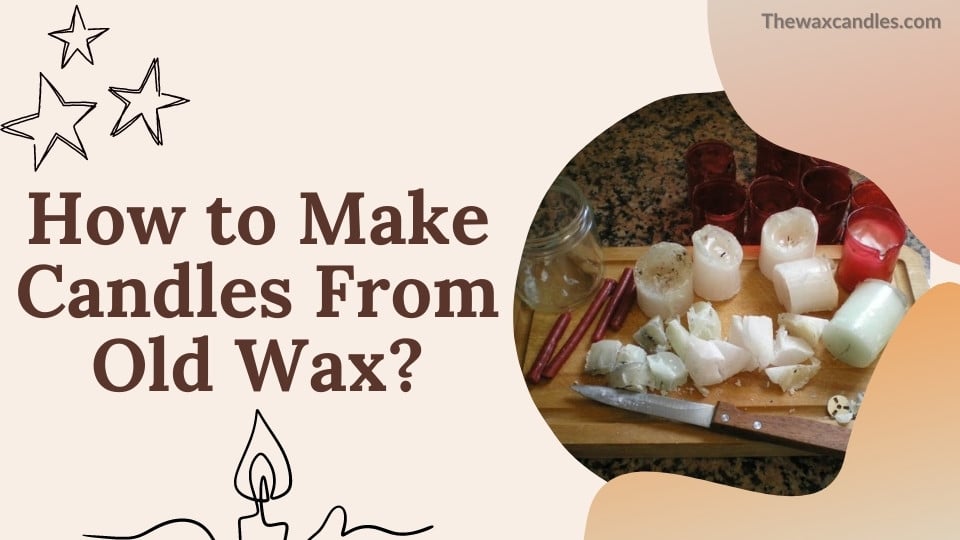
Needed materials
- A color-coded collection of antique candles and candle ends in multiple colors.
- As the bottom half of a double boiler, a large pan will be utilized
- Numerous coffee cans, one for every color of wax to be used, empty and clean
- Cutting board
- Knife
- Candy thermometer
- Spoons
- Tabbed candle wick with cotton core
- A clear container is ideal, such as a mason jar, an old candle jar, or a cocktail glass.
- Scissors
- Oven mitts
Proper guidance about making the candle
Chop up the candle parts with a sharp knife and a chopping board. Remove any unwanted or old and burnt candle wick you come across and discard it. Fill the coffee cans halfway with chopped wax; one can search for each hue. If you plan to use old candle jars, first clean them.
Fill the pan with a few inches of water and bring it to a low boil. Put the coffee can in the simmering water and choose the color of wax you wish to use for your initial coating. As the wax melts, stir it to eliminate any old wicking or char particles that may rise to the top.
Maintain temperature
Check the wax temperature with the candy thermometer continuously. It’s time to pour when the temperature reaches 170 degrees Fahrenheit. Put the bottom of the tab of the cotton core wick into the molten wax.
Ensure the tab is in the center of the candle container. Utilizing oven mitts or tongs, remove the coffee can from the simmering water and exchange it with the can containing your next coat of wax. Pour the melted wax into the wicked container carefully until it reaches the desired thickness.
Pouring each layer
Continue in this manner, pouring every layer when the wax becomes 170 degrees and wiping the thermometer clean between colors. You can apply the same hue multiple times by just reheating the wax in the coffee can.
Save a small amount of the wax from the last color poured when the container is nearly full. Leave the candle to cool and harden for at least an hour before using it. You’ll realize that a bit of depression has formed around the wick after an hour.
Fill in the indentation with the remaining wax in the last color poured. Allow the candle to harden for many hours, then trim the wick to 1/5 in. before using.
Consider the color of the candle you want to use
It would help if you organized your wax by color unless you’re trying for a particularly soiled, unpredictable shade of brown. White wax can be used in various colors, but remember that the final shade will be lighter.
Some colors, such as comparable tones of green and blue or reds and pinks, will look great when blended. Stick to similar colors as much as possible for the best results.
Black candles have a reputation for being extremely unpredictable. They can either darken or modify the color of your candle. Use them cautiously or toss them in if you’re willing to take chances.
Problems with Scented and Unscented
If your wax bits are scented, you may have problems combining them into the same candle due to competing scents. The total impact might be overwhelming, not to mention unappealing. Use unscented candle wax or a combination of pieces with similar aromas.
Different kinds of wax
The wax each candle was created from is the last aspect to consider when merging old candle pieces. There are wide different varieties of candle wax available, including:
- Paraffin
- Beeswax
- Soy wax 444 or 464
- Gel wax
Because each wax has a different melt point, mixing them can be difficult. Unless you are an expert candle maker who knows how to combine waxes, you should never use gel wax with everyone else. Most store-bought candles, including bulk tapers and container candles, comprise paraffin.
Making different kinds of candles
Stubs and old parts of wax can produce practically any type of candle. Keep in mind that there’s no way to guarantee the quality of the wax for complex molds and other sophisticated techniques unless you manufactured the original candles yourself.
After the procedure has been completed
Allow two hours for the wick to burn the first time you light your new candle. This will make lighting more accessible in the future. The melting points of various types of wax vary. When melting wax, keep a watch on it: if it starts to smoke, it’s too hot.
For best results, reduce the temperature to 170 degrees Fahrenheit. Try experimenting with various colors, forms, or decorations now that you know how to produce candles from recycled wax.
Carole Brooks has been making candles for many years. She loves to create candles of all different types and for all different purposes. Here she shares her experience and knowledge. Carole is a graduate of Texas A&M University.
")
")

")

