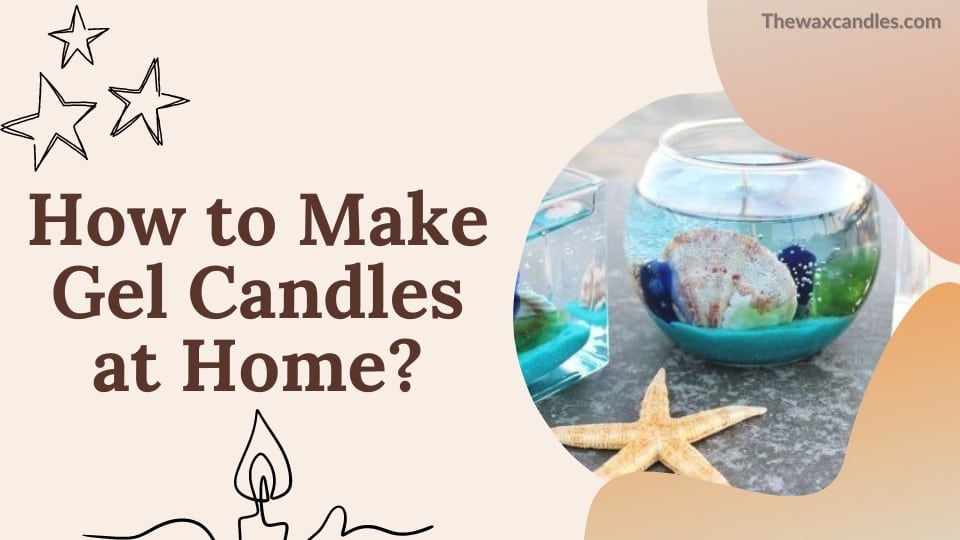
Are you making candles in a variety of colors and patterns? Are you unsure what to attempt next? No worries, folks, we’re always here to assist you with DIY projects, especially those involving candles. We’ll show you how to make gel candles at home in today’s article. Gel candles are known for their beauty, distinctive texture, and unique designs.
One of the most popular types of handmade candles is gel candles. Gel candles are made in different ways and use other ingredients from wax candles. While both wax and gel candles are made from oil, wax candles are 100 percent oil, while gel candles are 95 percent mineral oil and 5% polymer resin.
Do you enjoy lighting lovely scented candles? What’s more, did you know that you can design them yourself? It’s thrilling and not challenging at all. Here are some simple techniques for making one-of-a-kind candles that you can use at home, give as presents, or sell.
Materials for gel candle making
You will need:
- Gel
- Zinc wicks (Cotton wicks should not be used since they absorb too much gel)
- Essential oil for fragrance
- Liquid color dye
- Embeds (optional)
All of these ingredients are available from candle-making vendors online. It’s critical to utilize essential oils and colors explicitly designed for gel candles; fragrance oils purchased from a cosmetic store won’t work. You may also buy a gel candle-producing kit. For a newbie, buying equipment is the ideal option because it includes everything you’ll need to make your first few candles.
You will, of course, require a container. Glass is the finest container for a gel candle since it allows people to see the embeds you place within, but any non-flammable container would suffice. You can use any glass, such as a wine glass or a tiny broad vase, as long as it is at least 2 inches in diameter. When it comes to candle containers, garage sales and resale stores are gold mines.
Colored aquarium gravel, marbles, glitter, sand, seashells, pebbles, crystals, polished stones, artificial gemstones, or pearls can all be used as embeds.
Steps to making a gel candle
Gel candles are adorable and go with any decor plan, whether it’s for a party, festival, or to create a romantic, relaxing atmosphere in your home. The best thing is that you have a lot of customization possibilities when you build your DIY candle. To give them the style you desire and to fit it in with your design plan, add embellishments of your choosing.
Gel candles are widely used for both decorative and practical purposes. The gel used in these candles can be tinted or scented, and ornamental objects can be inserted within that can be removed once the candle is lighted and melted. As you’ll see in this guide, they’re the most straightforward and most customizable candles to create at home.
Step 1
Put a tiny amount of hot glue to the container’s bottom. Place the wick inside and wait for the glue to dry.
Step 2
To make the gel melt faster and more evenly, cut it into tiny pieces. In a stainless steel saucepan, melt it over medium heat.
Step 3
The temperature is the most challenging aspect; you must get it to precisely 200°F or else the gel will lose its clarity. You’ll need a good thermometer for this.
Step 4
Maintain a temperature of 200°F; the gel should completely melt and become smooth, similar to syrup.
Step 5
Add a tiny amount of color dye to the melted gel at a time until you achieve the desired shade. Remember, you can always add more paint to make the color brighter, but you can’t remove the dye. Only a tiny amount of color should be used on a candle with embedded items so the objects stay visible.
Step 6
Add the fragrance, 1/3 of a teaspoon per glass of melted gel will provide a pleasant aroma. Add a little extra fragrance if you want a stronger smell.
Step 7
Preheat the oven or microwave to 150-160 degrees Fahrenheit, which will help reduce bubble appearance.
Step 8
If you wish to use embeds, dip them in hot gel and arrange them as desired in the container. Keeping the embeds closer to the container’s sides is preferable since they will be easier to view.
Step 9
It’s now time to pour the gel into the container. Place the container on a flat surface and pour the gel down the side slowly and gently. If it’s your first time, expect a few bubbles. To avoid this, the gel should still be very hot.
Step 10
Pull the wick to the top. To keep it straight, roll it on a pencil.
Step 11
Please wait for the candle to cool before using it. You’re done after you’ve trimmed the wick! You have a lovely, one-of-a-kind gel candle that you made yourself.
Safety Issues
Some people believe that because gel candles burn longer than paraffin wax candles, they don’t need to be cared for as meticulously as wax candles. The candles continue to burn, and they can create fires, mainly if they’re produced in a container that can’t handle the heat and the burning candle is left unattended or in the presence of little children.
Gel candles aren’t any more dangerous than ordinary candles; remember to take caution around them as you would around anything else on fire. These candles are beautiful gifts, so be sure to pass along these safety warnings to anybody who shares your passion for candles.
In conclusion, it’s no longer as challenging to make gel candles as it is to make soy wax candles. You’re just dealing with temperatures that are a little greater than you’re accustomed to.
While creating gel candles takes a little longer and is more challenging to develop into a full-time business, it may still be a satisfying hobby. However, this is only true if your containers have intricate patterns.
You may genuinely personalize the candles you produce by adding different patterns and themes, then keep them or give them to family and friends, and it provides you with more creative freedom than creating soy wax candles.
Take a look: What is gel candles?
Carole Brooks has been making candles for many years. She loves to create candles of all different types and for all different purposes. Here she shares her experience and knowledge. Carole is a graduate of Texas A&M University.


")
")